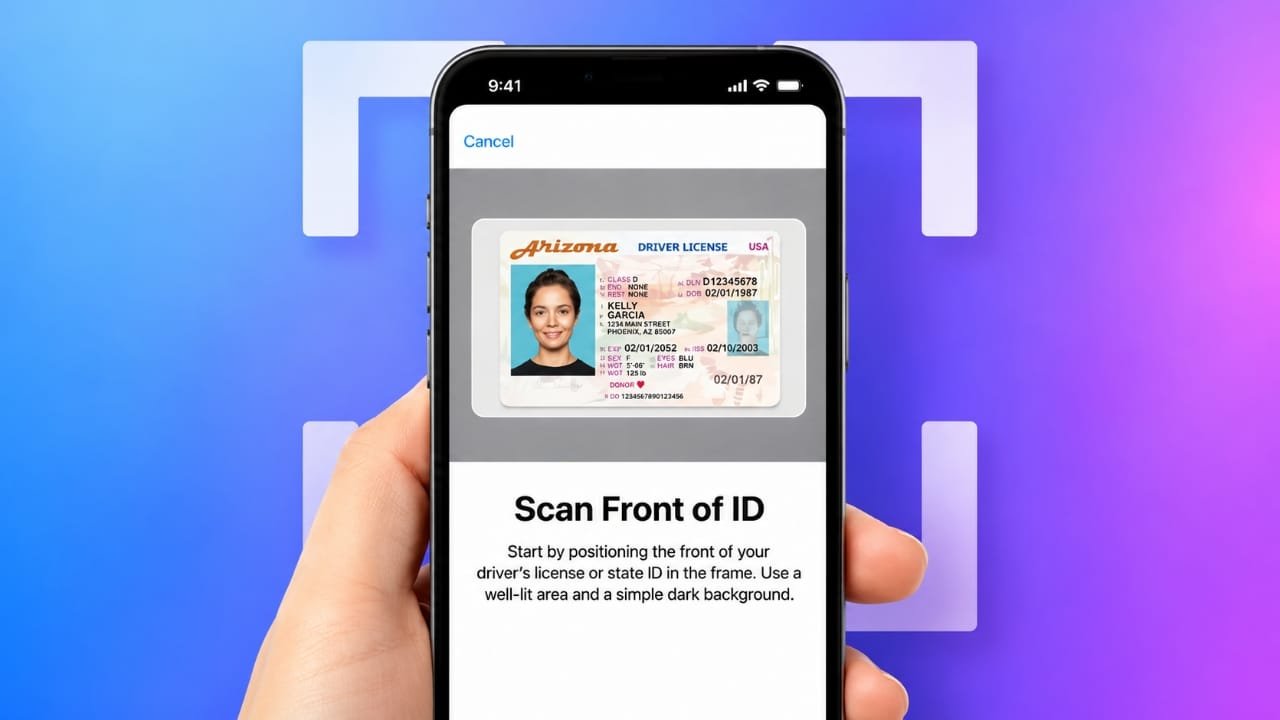
Keeping a physical wallet full of cards isn’t always convenient. With Apple Wallet, eligible users can store a digital version of their driver’s license or state ID on their iPhone or Apple Watch. This makes it easier to verify your identity at supported locations without reaching for your physical card.
However, it’s important to remember that a digital ID does not replace your physical identification everywhere. Many places still require the original card, so you should continue carrying it when needed.
Advertisements
Also read: How to Transfer Music From iPhone to iPhone Easily
Check These Requirements Before You Begin
Before adding your ID to Apple Wallet, make sure your device and account meet Apple’s requirements.
Device Requirements
You’ll need:
- iPhone 8 or a newer model
- iPhone SE (2nd generation or later)
- iOS 15.4 or later
- Face ID or Touch ID enabled
- Apple Watch Series 4 or newer (optional)
- watchOS 8.4 or later if using Apple Watch
- Two-factor authentication enabled on your Apple Account
- Device region set to the United States
- A stable internet connection
- A valid driver’s license or state ID
Digital IDs are currently available only in selected U.S. states and territories. Apple continues to expand support over time.
States That Currently Support Digital IDs
Availability depends on the issuing authority. At the time of writing, support is available in several locations, including:
- Arizona
- Arkansas
- California
- Colorado
- Georgia
- Hawaii
- Illinois
- Iowa
- Maryland
- Montana
- New Mexico
- North Dakota
- Ohio
- Virginia
- West Virginia
- Puerto Rico
More states are expected to join in the future as they complete their rollout.
Benefits of Using Apple Wallet for Your ID
A digital ID offers added convenience by allowing you to access your identification directly from your phone or watch.
Some key advantages include:
- Quick identity verification at supported locations
- Strong encryption to protect personal information
- Face ID or Touch ID authentication
- Selective sharing of personal details
- Reduced need to carry your physical wallet
Instead of sharing your entire ID, you may only need to provide specific information, such as confirming your age. This helps improve privacy during identity checks.
According to Apple, neither the company nor participating issuing authorities track where you use your digital ID for verification.
How to Add Your Driver’s License or State ID
The setup process is simple but includes identity verification to confirm that you are the card owner.
Step 1: Open Apple Wallet
Open the Wallet app on your iPhone.
- Tap the + button.
- Select Driver’s License or State ID.
- Choose your state from the list.
- Decide whether to add the ID to your iPhone, Apple Watch, or both.
You can always add it to your Apple Watch later if you prefer.
Step 2: Scan Your Physical ID
Apple will ask you to scan both sides of your driver’s license or state ID.
For the best results:
- Place the card on a dark surface.
- Make sure the area is well lit.
- Keep the card flat.
- Clean your camera lens before scanning.
- Follow the on-screen instructions carefully.
After scanning, Apple begins verifying your identity.
Step 3: Complete Face Verification
You’ll then complete a facial verification process.
Your iPhone may ask you to:
- Take a selfie or Live Photo
- Turn your head
- Smile naturally
- Follow a few simple facial movements
Stand in a well-lit area with a plain background for the best results.
Remove sunglasses, hats, masks, or anything covering your face before starting.
Once the verification is complete, confirm using Face ID or Touch ID.
Your information is securely sent to the issuing authority for review. Approval may take a few hours or, in some cases, several days.
When verification is complete, you’ll receive a notification and your digital ID will appear in Apple Wallet.
Add a Student ID
Apple Wallet also supports student ID cards at participating colleges and universities.
Eligible students can use their digital campus ID for supported campus services without carrying a physical card.
How to Use Your Digital ID
Once approved, your digital ID can be used wherever Apple Wallet identification is accepted.
Supported locations may include:
- TSA airport checkpoints
- Businesses
- Events and venues
- Mobile apps
- Some websites
Availability depends on the organization and your location.
View Your ID Information
To see your stored information:
- Open Wallet.
- Tap your digital ID.
- Select the information button.
- Authenticate with Face ID or Touch ID.
You can review details such as:
- Name
- Address
- Date of birth
- Height
- Eye color
- Issuing authority information
If any information is incorrect, contact the authority that issued your ID.
Using Your ID at Supported Airports
Many participating TSA checkpoints accept digital IDs stored in Apple Wallet.
When arriving at a supported checkpoint:
- Open Wallet.
- Select your digital ID.
- Authenticate with Face ID or Touch ID.
- Hold your iPhone near the reader.
- Review the requested information.
- Approve the request.
Information is transferred securely using NFC technology.
You keep your device in your hand throughout the process, and only the requested information is shared.
Apple Watch users can complete a similar process after unlocking their paired iPhone.
Using Your ID with Apps and Websites
Some apps and websites can request identity verification through Apple Wallet.
When prompted:
- Choose Verify with Apple Wallet.
- Select your stored ID.
- Review which information is requested.
- Approve the request using Face ID or Touch ID.
Only the required information is shared, helping protect your privacy.
Passport-Based Digital ID
Apple also supports a passport-based digital ID for eligible U.S. passport holders on supported software versions.
This option can provide another way to verify your identity for supported domestic travel and other approved services.
Like driver’s licenses, passport-based digital IDs use biometric authentication and secure data sharing.
How to Remove Your Digital ID
If your license expires, you move to another state, or you plan to sell your device, you can remove your digital ID.
To remove it:
- Open Wallet.
- Select your ID.
- Tap the information button.
- Scroll down.
- Choose Remove Driver’s License or Remove This ID.
- Confirm your choice.
The ID is removed from your device and iCloud, and the issuing authority is notified.
Troubleshooting Common Issues
Can’t Add Your ID
Check whether the same ID is already linked to another Apple Account. Remove it from the previous account before trying again.
Your State Isn’t Available
Digital IDs are only supported in participating states. Check whether your state has joined the program.
The Card Won’t Scan
Improve the lighting, clean your camera lens, and place the card on a dark background before scanning again.
Face Verification Doesn’t Work
Make sure your face is clearly visible and follow each movement exactly as requested. Restarting your iPhone may also help.
Approval Is Taking Too Long
Verification times vary depending on the issuing authority. If it takes longer than expected, check for updates from your state’s DMV or wait for the approval notification.
ID Doesn’t Appear on Apple Watch
Open the Watch app on your iPhone, go to Wallet & Apple Pay, and check whether the ID has been added.
If problems continue, update your device software or contact Apple Support or your state’s issuing authority for assistance.
Also read: How to Change Safari Privacy and Security Settings on iPhone
Final Thoughts
Adding your driver’s license or state ID to Apple Wallet can make identity verification faster and more convenient where supported. Strong security features, biometric authentication, and selective information sharing help protect your personal data.
Even with these benefits, it’s still a good idea to carry your physical ID, as not every location accepts digital identification yet.

I am a passionate Tech Writer with strong industry experience. I enjoy exploring the latest technological innovations and sharing clear, helpful insights with my audience.”
Advertisements