ChatGPT Record makes it easy to capture spoken ideas without typing everything yourself. It records audio and then turns it into clear, well-organized notes. This is helpful for meetings, brainstorming, or quick voice reminders.
The feature works inside the ChatGPT desktop app on macOS. Many professionals use it during meetings, while individuals rely on it to save ideas on the go.
Also read: How to Fix Apple CarPlay Not Working on iPhone (Easy & Complete Guide)
What Is ChatGPT Record and Who Can Use It?
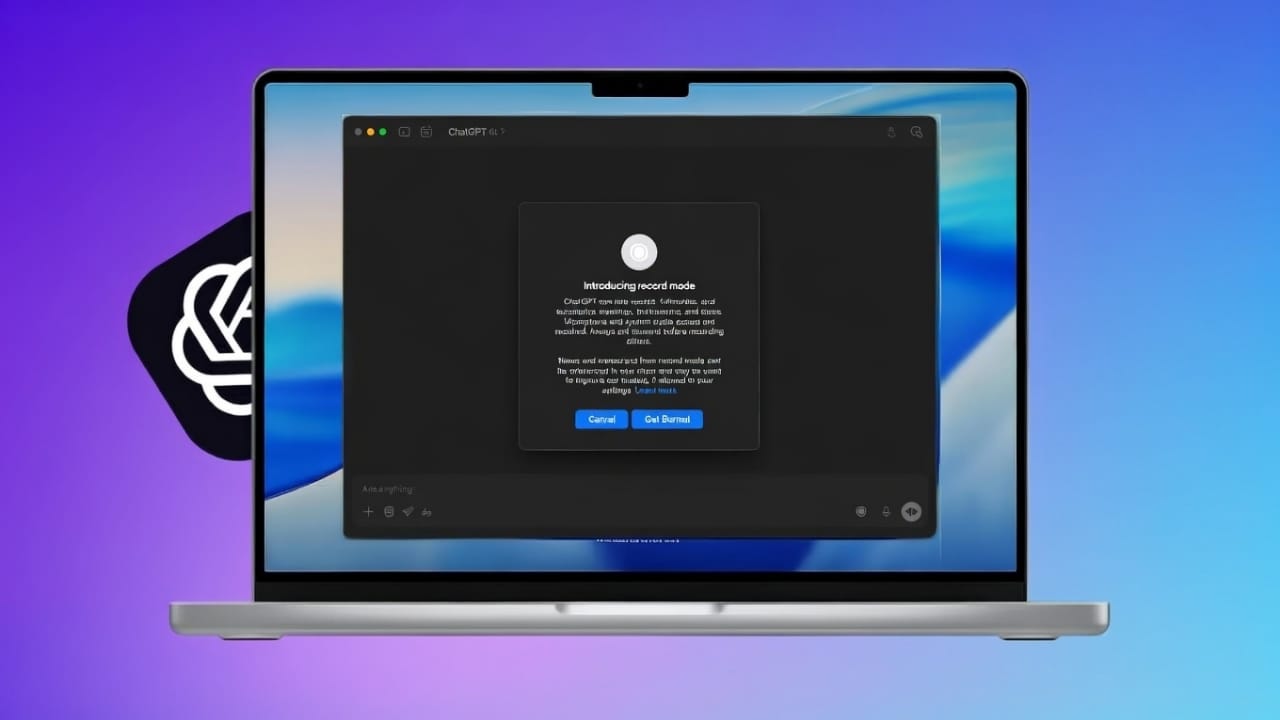
ChatGPT Record is a built-in audio recording option. It lets you record conversations, meetings, or personal voice notes. After recording, the audio is converted into written summaries that open automatically in a private canvas.
Right now, this feature is available only on macOS through the desktop app. It does not work on mobile devices or Windows computers.
Access depends on your plan. Plus, Pro, Business, Enterprise, and Edu workspaces support this feature. Free accounts may not see it yet, as access is being rolled out gradually. There is no extra cost for recording if your plan includes it.
Each recording session can run for up to 120 minutes. If the limit is reached, the recording stops automatically and notes are generated.
ChatGPT Record can capture conversations with multiple people, but it does not label speakers by name. English audio works best, while other languages may have varying accuracy.
Because no automated system is perfect, it’s always a good idea to review important details before using them for decisions.
How to Start and Use ChatGPT Record
To begin, open the ChatGPT app on macOS and sign in with a supported account. Make sure your app is updated.
Inside any chat, click the Record button at the bottom of the screen. The first time you use it, you’ll need to allow microphone access. System audio permission may also be required.
Before recording others, make sure you follow local laws and get consent when necessary. Responsibility for legal compliance stays with the user.
Once recording starts, speak normally and clearly. A timer shows how long the session has been running. You can pause and resume recording at any time.
When finished, click Stop. You’ll see options to resume or send the recording. Sending uploads the audio for processing and creates a summary.
You can also cancel a session using the X button. From there, you can upload it, delete it permanently, or return to the recording screen.
After uploading, a private canvas opens with your notes. This includes a summary, action items, and key discussion points.
Editing Notes and Reusing the Content
Every recording creates a structured note canvas saved in your chat history. These notes are private and easy to edit. You can fix errors, add details, or adjust wording without recording again.
You can also ask ChatGPT to reuse the content. For example, turn notes into an email, a task list, a project outline, or even a simple plan. This keeps everything in one place and saves time.
All recordings and summaries are searchable later. You can quickly find past meetings and review decisions or action points.
Using Past Recordings as References
ChatGPT can refer to older recording summaries to give more context in future chats. This helps when you want to recall previous discussions or decisions.
You can control this feature in Settings > Personalization by turning reference history on or off.
If you delete a conversation, its related summaries will stop being used after some time. Workspace owners have extra controls and can disable recording or reference history if needed.
In Enterprise and Edu workspaces, recording is usually off by default and must be enabled manually. These settings help protect privacy and meet organizational rules.
Privacy, Storage, and Data Safety
Audio files are used only to create transcripts. Once transcription is done, the audio is automatically deleted. The written summaries follow the same retention rules as normal chats.
Deleting a chat removes its notes within a standard cleanup period, unless legal requirements apply.
Audio recordings are not used to train models. Transcripts are only used for improvement if the user has enabled that option. Business, Enterprise, and Edu workspaces are excluded from training by default.
Limitations You Should Know
- You cannot see live text while recording
- Notes appear only after recording ends
- Speaker names are not identified
- Large group meetings may need manual clarification
If the record button is missing, update the app and check your account type. If audio quality is poor, try using a headset and reducing background noise.
Also read: How to Remove Someone From Your Snapchat Friends List (Simple Guide)
Final Thoughts
ChatGPT Record is a simple way to capture spoken information and turn it into useful notes. It reduces manual work and keeps everything organized in one place.
While it has some limits, its time-saving benefits make it valuable for both individuals and teams. With clear privacy controls and easy editing, it’s a practical tool for everyday use on macOS.

I am a passionate Tech Writer with strong industry experience. I enjoy exploring the latest technological innovations and sharing clear, helpful insights with my audience.”